Transforming Spaces with Parquet: A Comprehensive Guide to Wood Flooring Installation
Hey there, fellow flooring enthusiasts! It's your friendly neighborhood DIY blogger here, ready to dive into the wonderful world of parquet wood flooring. As someone who's been through the ups and downs of home renovations, I can tell you that installing parquet flooring is like adding a touch of artistic flair to your space. It's not just flooring; it's a statement piece that can truly transform a room. So, grab a cup of coffee, and let's explore this timeless flooring option together!
The Art of Parquet Wood Flooring
You know, every time I walk into a room with parquet flooring, I can't help but feel a sense of warmth and sophistication. There's something about those intricate geometric patterns that just screams elegance. But here's the kicker - parquet isn't just for fancy mansions anymore. With some know-how and elbow grease, you can bring this classic look into your own home. Trust me, I've been there, and the results are worth every bead of sweat!
Understanding Parquet Flooring
Before we roll up our sleeves and get to work, let's chat about what makes parquet flooring so special.
Types of Wood Species: The Stars of the Show
When it comes to parquet, not all woods are created equal. Here are some popular choices:
- Oak: My personal favorite! It's durable, has a beautiful grain, and ages like fine wine.
- Walnut: For those dark, rich tones that make you feel like you're in a cozy library.
- Maple: Light and bright, perfect for opening up smaller spaces.
- Cherry: Adds a touch of warmth with its reddish hues.
Fun fact: Oak and walnut are the rockstars of the parquet world. They're like the Beatles of flooring - timeless and always in style.
Solid vs. Engineered Wood: The Great Debate
Now, here's where things get interesting. You've got two main options:
1. Solid Wood: It's the real deal. One piece of wood from top to bottom. Great for traditionalists and purists.
2. Engineered Wood: This is like the Swiss Army knife of flooring. It's got layers, with real wood on top and plywood underneath. Perfect for areas with moisture concerns.
I've used both in different projects, and honestly, they both have their merits. It really depends on your specific needs and the room you're working with.
Popular Geometric Patterns: Where Art Meets Flooring
This is where parquet really shines. The patterns can turn your floor into a work of art. Some favorites include:
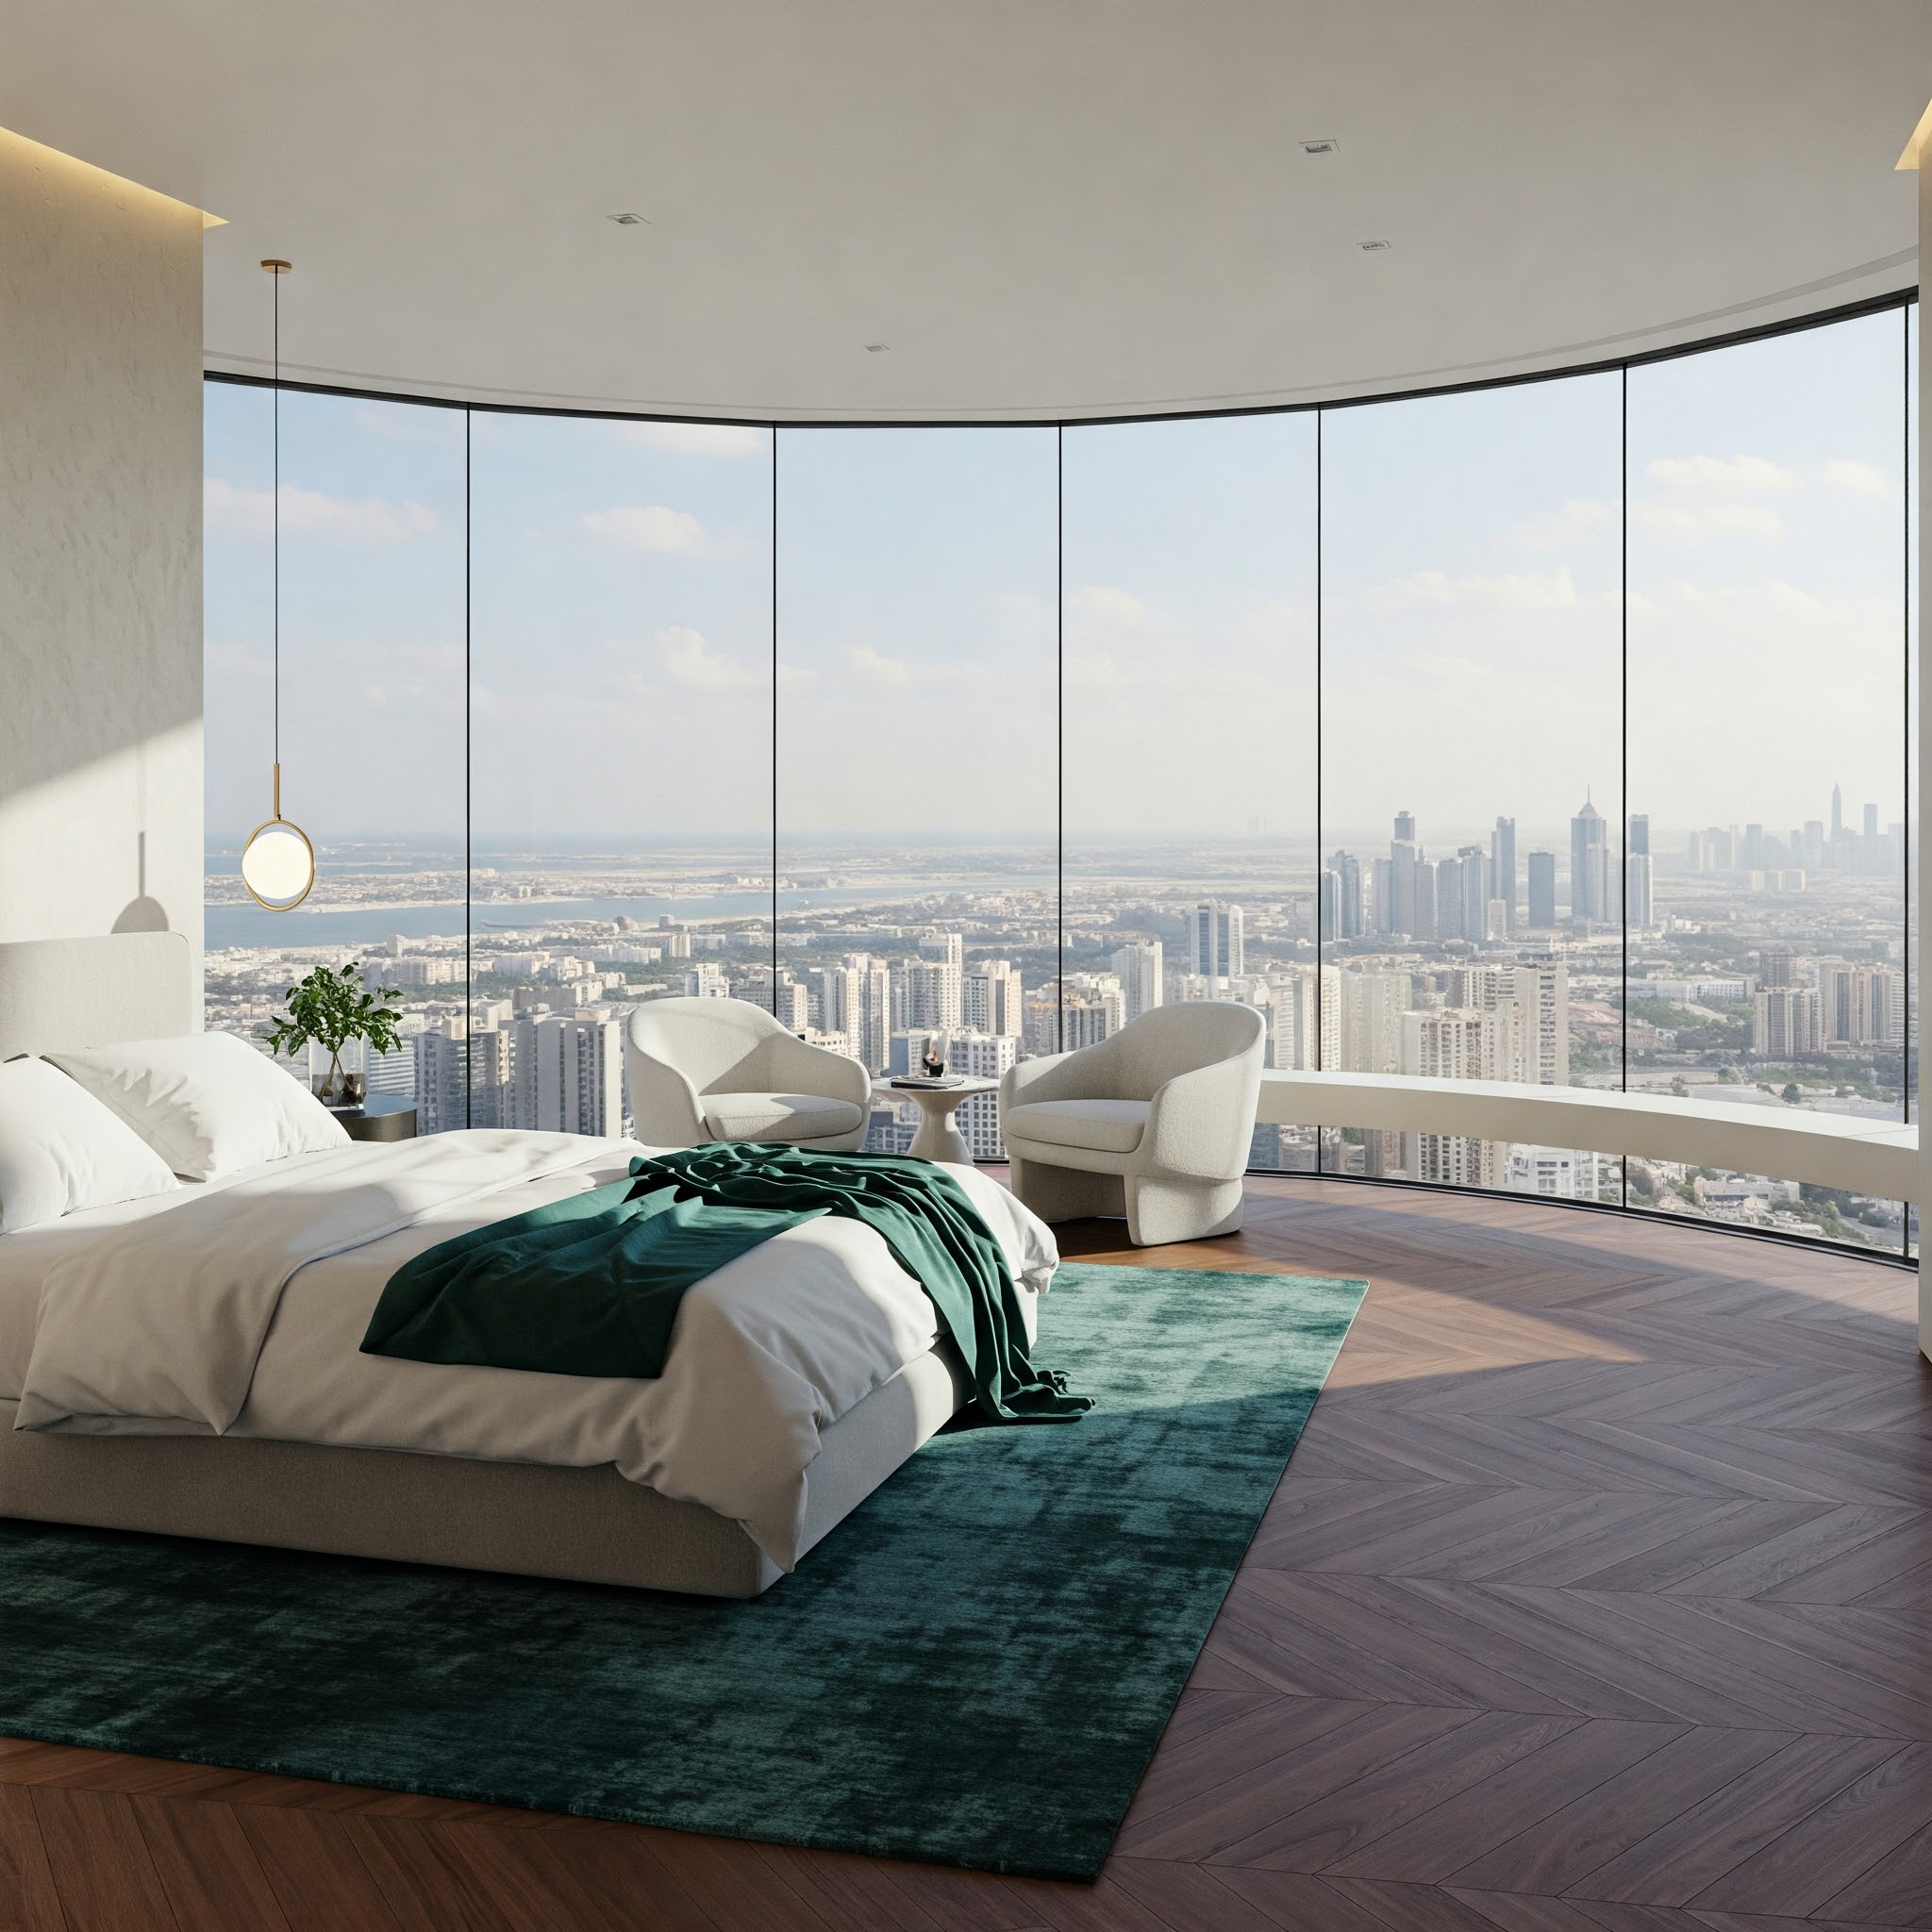
- Herringbone: Looks like fish bones (in a good way!) and adds a dynamic feel to any room.
- Chevron: Similar to herringbone, but with a sharper angle. Very chic!
- Basket Weave: Creates a lovely woven effect that's both classic and modern.
- Versailles Pattern: For when you're feeling extra fancy and want to bring a touch of French palace elegance to your home.
I once installed a herringbone pattern in my living room, and let me tell you, it's a conversation starter!
Preparing for Installation: The Key to Success
Alright, now that we've got the basics down, let's talk about prepping for installation. This is crucial, folks. Skip this step, and you might end up with a floor that's more "yikes" than "nice"!
Assessing the Subfloor: The Foundation of Your Flooring Dreams
First things first, we need to make sure your subfloor is up to snuff. Here's a quick checklist:
- Is it level? (Use a spirit level to check)
- Is it clean and dry?
- Are there any cracks or damage that need repairing?
I once skipped this step and ended up with a squeaky floor. Learn from my mistakes, people!
Floating vs. Glue Down Construction: Decisions, Decisions
You've got two main installation methods to choose from:
1. Floating: The planks click together and "float" above the subfloor. It's like a giant, beautiful puzzle.
2. Glue Down: As the name suggests, you glue the planks directly to the subfloor. It's more permanent but can provide better stability.
Personally, I prefer the floating method for DIY projects. It's more forgiving if you make a mistake (not that you will, of course!).
Choosing the Right Underlay: The Unsung Hero of Flooring
Don't skimp on the underlay, folks! It's like the secret sauce that makes your floor comfortable and quiet. For parquet, I swear by the Sonixx Resilient 250. It's like giving your floor a cozy blanket to rest on.
Acclimating the Wood: Patience is a Virtue
This step is crucial. You need to let your wood adjust to its new home before installation. Here's what to do:
1. Bring the wood into the room where it will be installed.
2. Let it sit for at least 48 hours (72 is even better).
3. Keep the room at a consistent temperature and humidity level.
Think of it like introducing a new pet to your home. You want to make sure everyone's comfortable before making it permanent!
Step-by-Step Installation Process:
Layout and Design Planning: Measure Twice, Cut Once
1. Start by measuring your room and creating a layout plan.
2. Decide on your pattern and figure out where you want to start.
3. Use chalk lines to mark your starting point and guide lines.
Pro tip: Start in the center of the room and work your way out. It'll give you a more balanced look.
Applying Adhesive:
If you're going with the glue-down method:
1. Use a trowel to spread the adhesive evenly.
2. Work in small sections so the glue doesn't dry before you place the wood.
3. Follow the manufacturer's instructions on drying time.
Remember: More is not always better when it comes to adhesive. You don't want it squeezing up between the planks!
Cutting and Fitting Pieces: Time to Channel Your Inner Artist
1. Use a saw to cut pieces as needed. A miter saw works great for those angled cuts in patterns like herringbone.
2. Dry fit pieces before gluing to make sure everything lines up.
3. Use spacers along the walls to allow for expansion.
Don't get discouraged if your first few cuts aren't perfect. Rome wasn't built in a day, and neither is a perfect parquet floor!
Sanding and Finishing: The Final Touch
1. Once everything is installed and dry, sand the floor to ensure it's smooth.
2. Apply your chosen finish (oil, lacquer, etc.) according to the manufacturer's instructions.
3. Let it dry completely before walking on it or moving furniture back in.
I know you're excited to see the final result, but trust me, rushing this step is not worth it. Good things come to those who wait!
Maintaining Your Parquet Floor: Keep That Beauty Shining
You've installed your parquet floor. But our journey doesn't end here, my friends. Let's talk about keeping that floor looking fabulous for years to come.
Daily Care Routines: A Little Love Goes a Long Way
- Sweep or vacuum regularly to prevent scratches from dirt and debris.
- Use a slightly damp mop for deeper cleaning, but avoid soaking the wood.
- Place mats at entrances to catch dirt before it hits your beautiful floor.
Remember, treat your parquet floor like you would a prized possession - with care and respect!
Dealing with Scratches and Dents:
- For light scratches, try using a wood touch-up pen that matches your floor color.
- Deeper scratches might require filling with wood putty and refinishing.
- For dents, you can sometimes steam them out using a damp cloth and an iron. (Always test in an inconspicuous area first!)
Don't panic if you see a scratch or dent. Think of them as adding character to your floor. Each one tells a story!
Refinishing Techniques: Giving Your Floor a Facelift
Every few years, depending on wear and tear, you might want to refinish your parquet floor:
1. Sand the floor to remove the old finish and any surface damage.
2. Clean thoroughly to remove all dust.
3. Apply new stain if desired.
4. Finish with a new layer of protective coating.
It's like giving your floor a spa day. Trust me, it'll thank you for it!
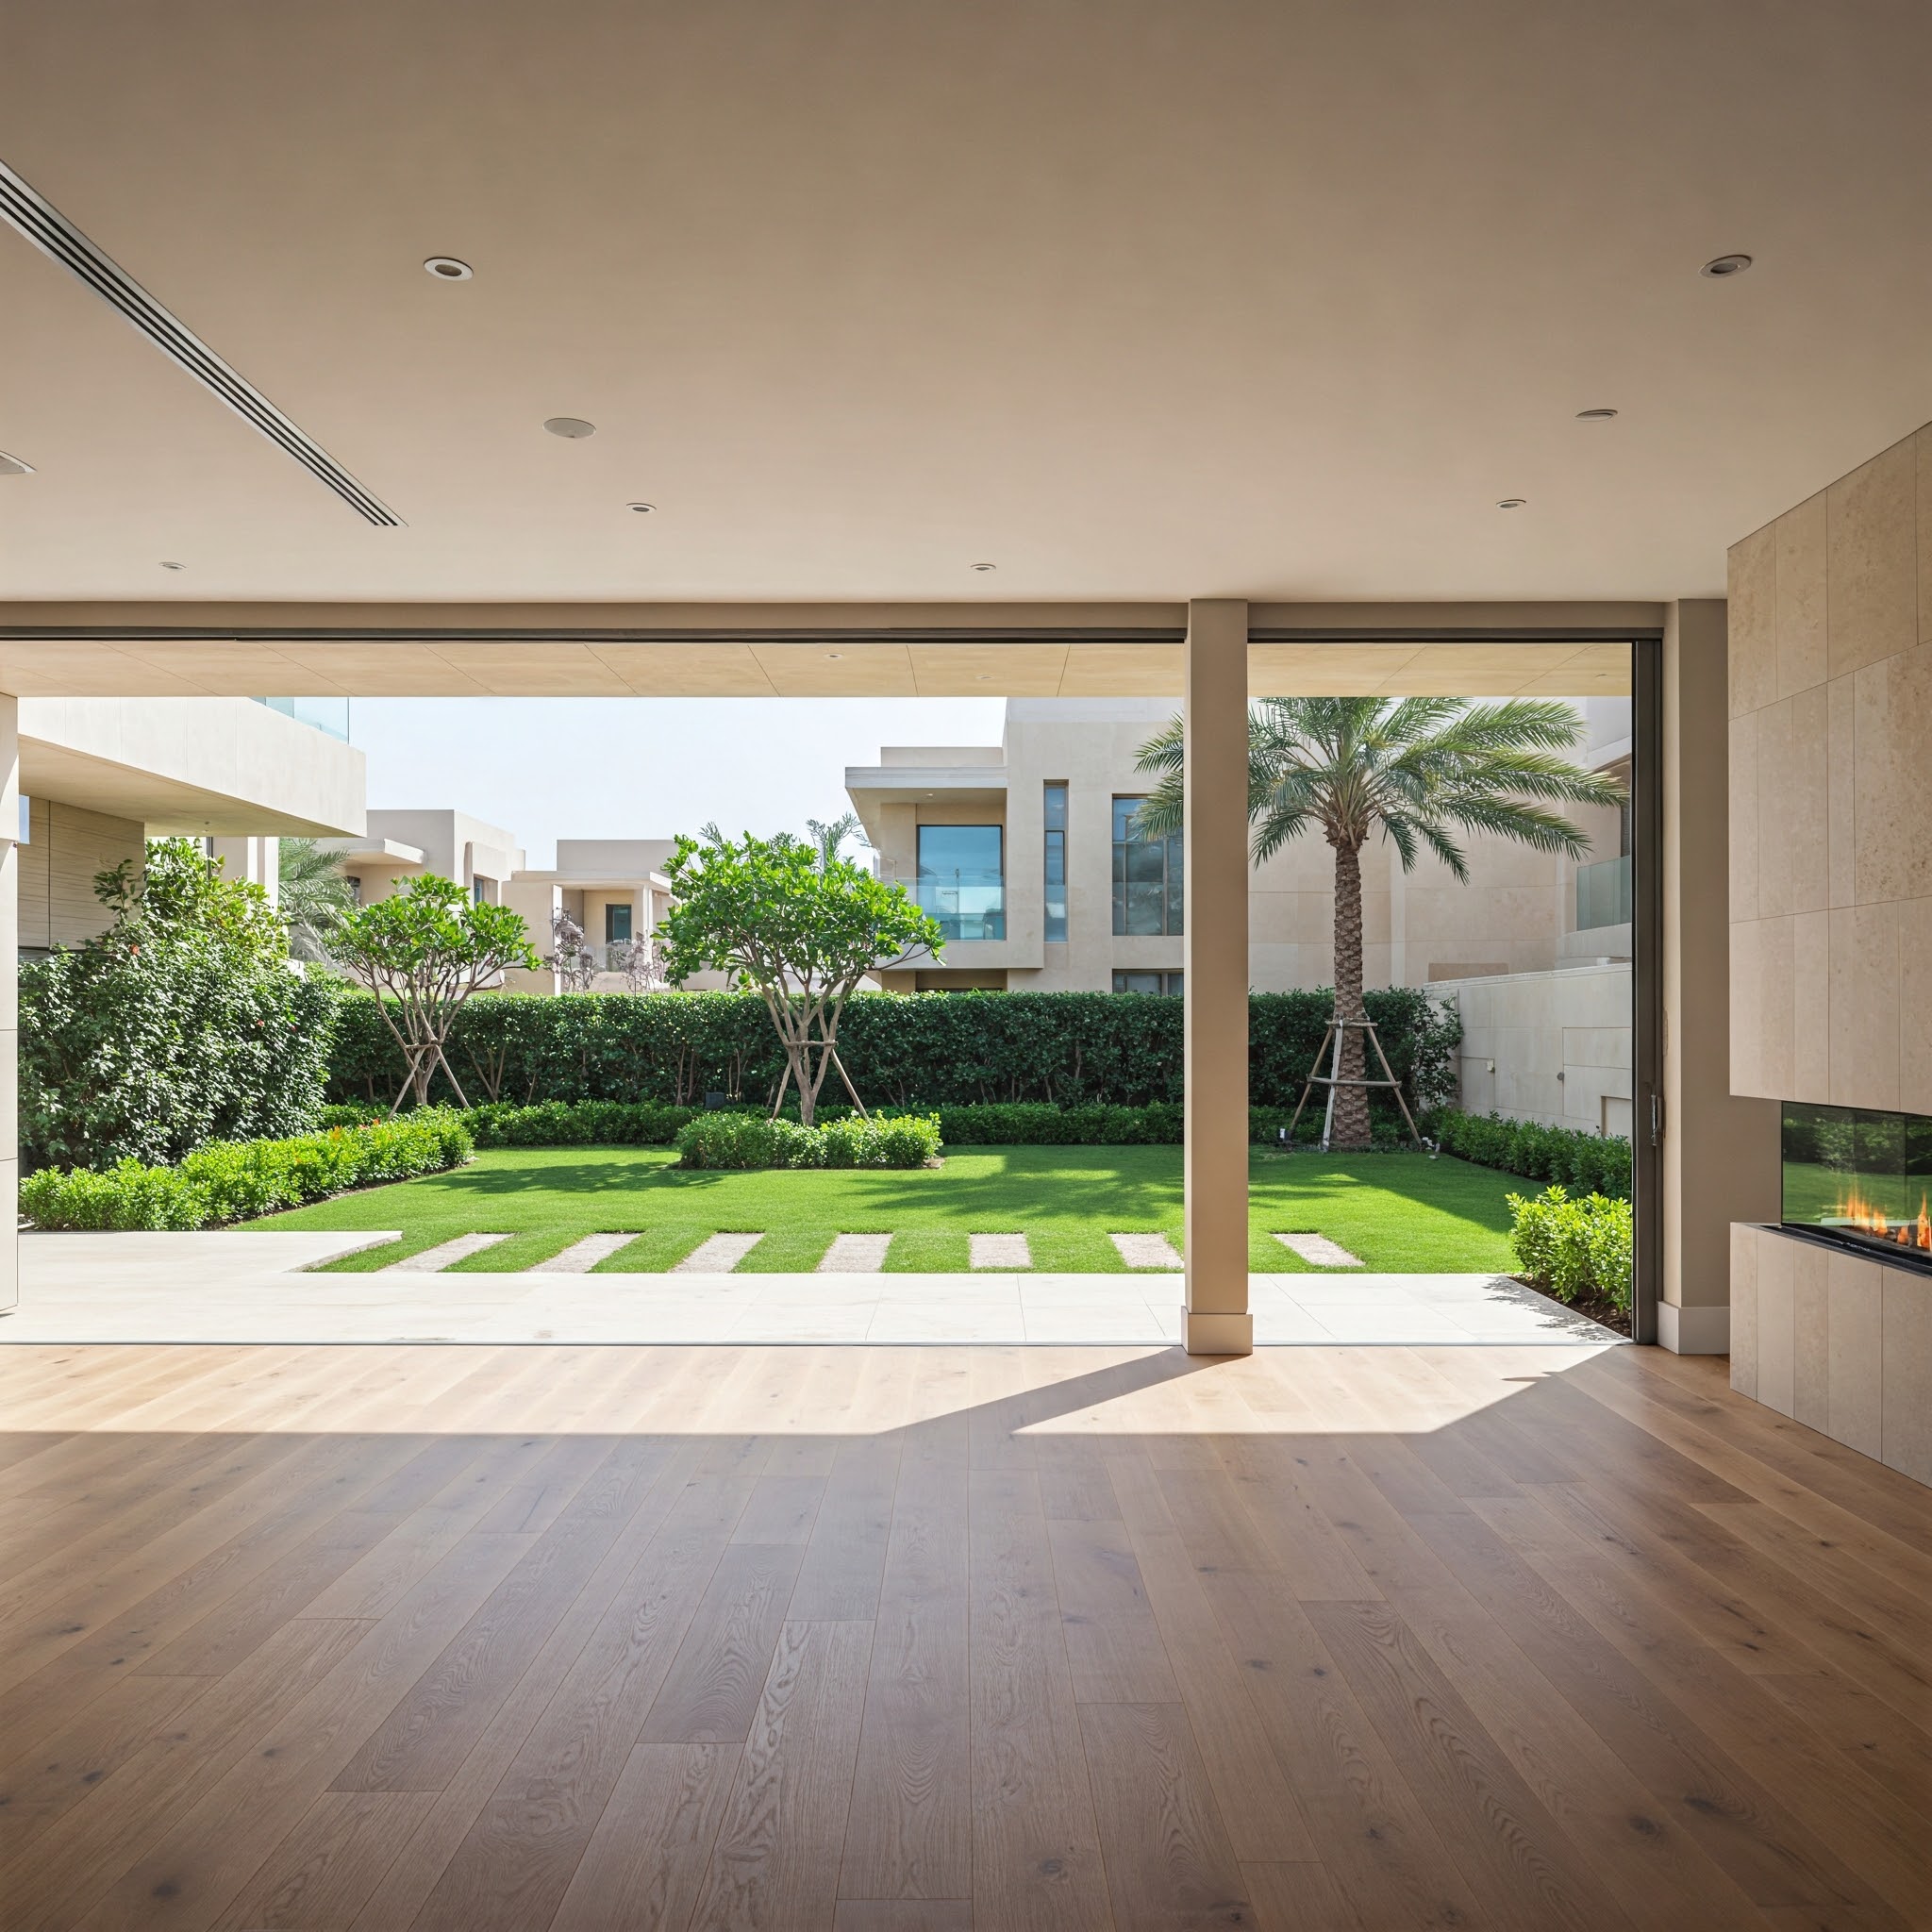
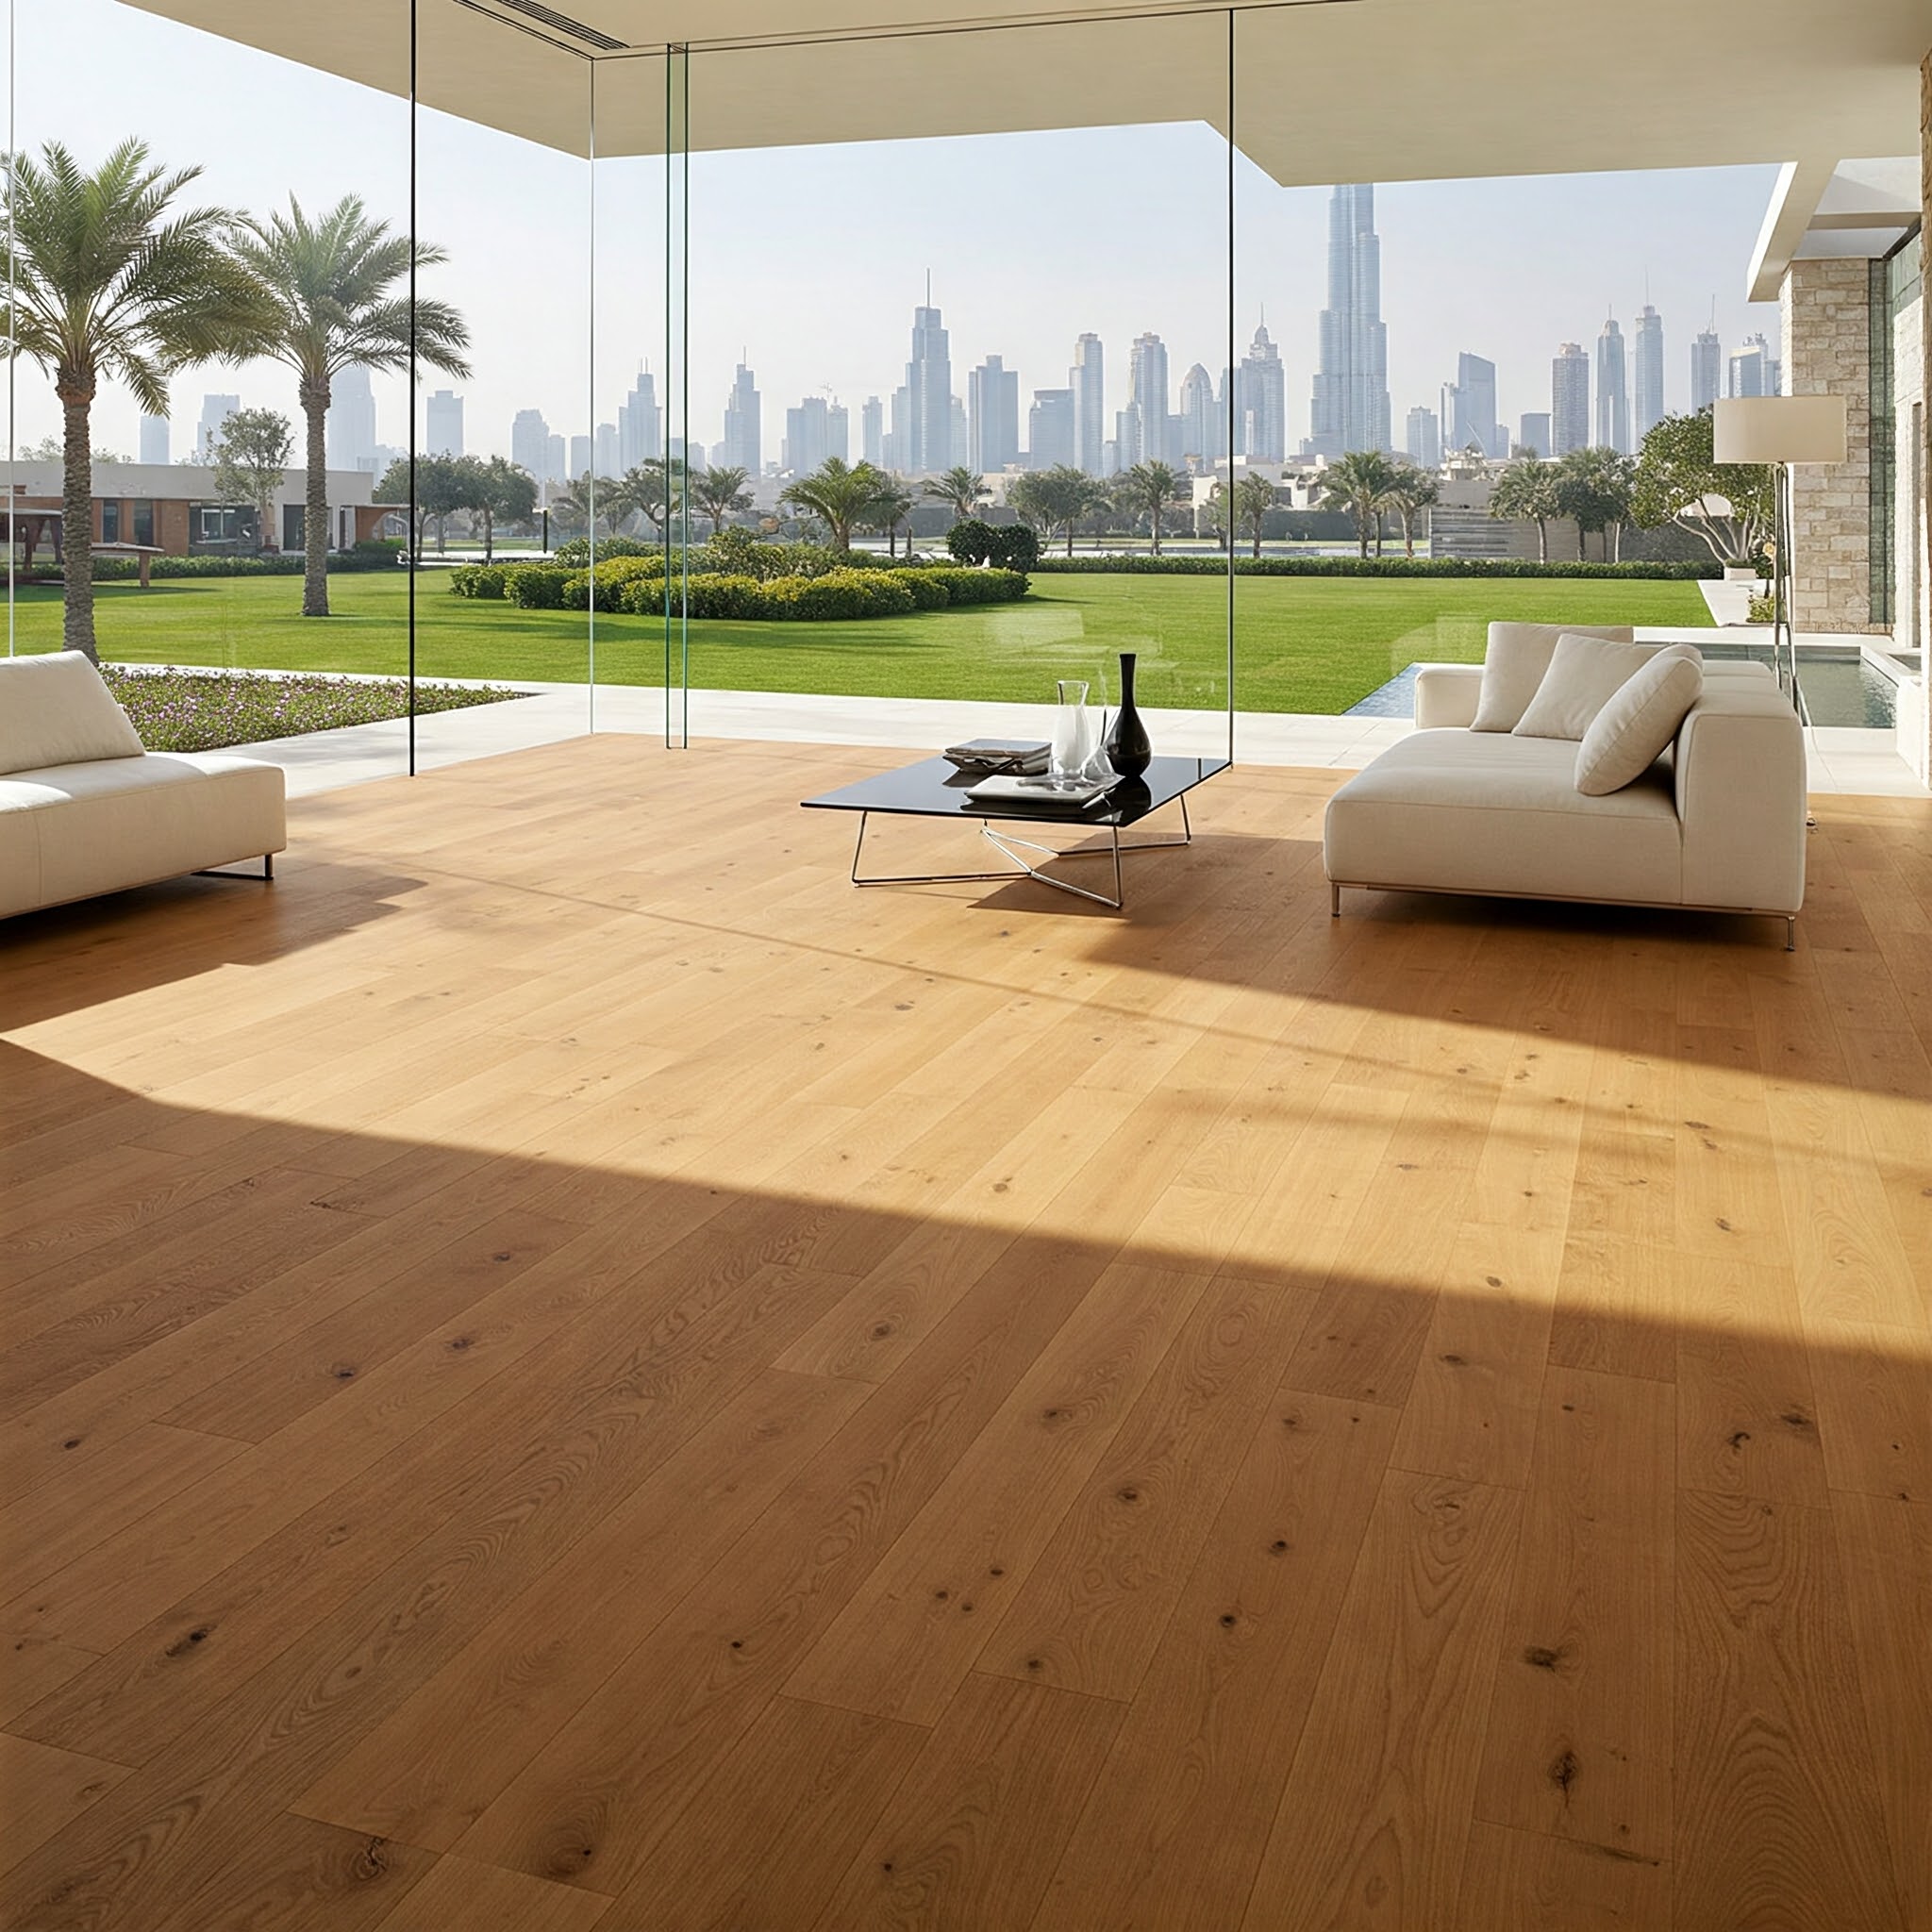
Enjoying Your Transformed Space: The Fruits of Your Labor
Whether you're an interior designer impressing clients, a homeowner revamping your space, or a property developer adding value to your investments, parquet flooring is a choice that stands the test of time.
Remember, every time you walk across your new floor, you're not just stepping on wood - you're stepping on a piece of art that you created.